In this lesson, you will:
- Build your SPL-Token-Minter program.
- Deploy and test the program on the Solana network.
This lesson covers the stages of building, deploying, and testing your SPL-Token-Minter program. It begins with building the program, then discusses connecting your wallet to the devnet and airdropping testnet tokens. After building, you'll learn to initiate a new Solana devnet cluster and deploy your program. Finally, you'll test the deployed program and verify its success through the transaction signature in Solana Explorer.
To build your project, open your terminal, navigate to the project's root directory, and run:
anchor build
This compiles your project, creating a target folder in the root directory with the IDL and types needed to interact with your Solana program using RPC methods.
Start by checking your configuration:
solana config get
You should see an output like this:
Config File: ~/.config/solana/cli/config.yml
RPC URL: https://api.devnet.solana.com
WebSocket URL: wss://api.devnet.solana.com/ (computed)
Keypair Path: ~/.config/solana/id.json
Commitment: confirmed
For the Devnet, note the RPC URL and the location of your wallet's keypair. Ensure you have a wallet keypair for deployment. Set the cluster to Devnet with:
solana

config set --url https://api.devnet.solana.com
Generate a new keypair with this command:
solana-keygen new
Now, check your wallet's address and balance:
solana address
solana balance
If you lack Devnet SOL, airdrop some to your wallet:
solana airdrop <amount>
With sufficient SOL, you're set to deploy your program. Start a Solana devnet cluster:
solana-test-validator
Then, deploy your program:
anchor deploy
You'll see a confirmation like this:
Deploying cluster: https://api.devnet.solana.com
Upgrade authority: ~.config/solana/id.json
Deploying program "spl_token_minter"...
Program path: ~/Desktop/demo/spl-token-minter/target/deploy/spl_token_minter.so...
Program Id: 3iCbv94ivHb4of8NEeikMbk2kckLVSDmUEprpQZ1cBUw
Deploy success
Your program is now on the Devnet. Record the program ID and update it in your Solidity file and anchor.toml.
Rebuild the program:
anchor build
Ensure testing dependencies are installed:
yarn install
Test your program:
anchor test
The output should confirm successful tests:
spl-token-minter
...
3 passing (12s)
To see your minted tokens on Solana Explorer, get your wallet address:
solana address
Visit Solana Explorer and search with your wallet address. You'll see an overview of your wallet:
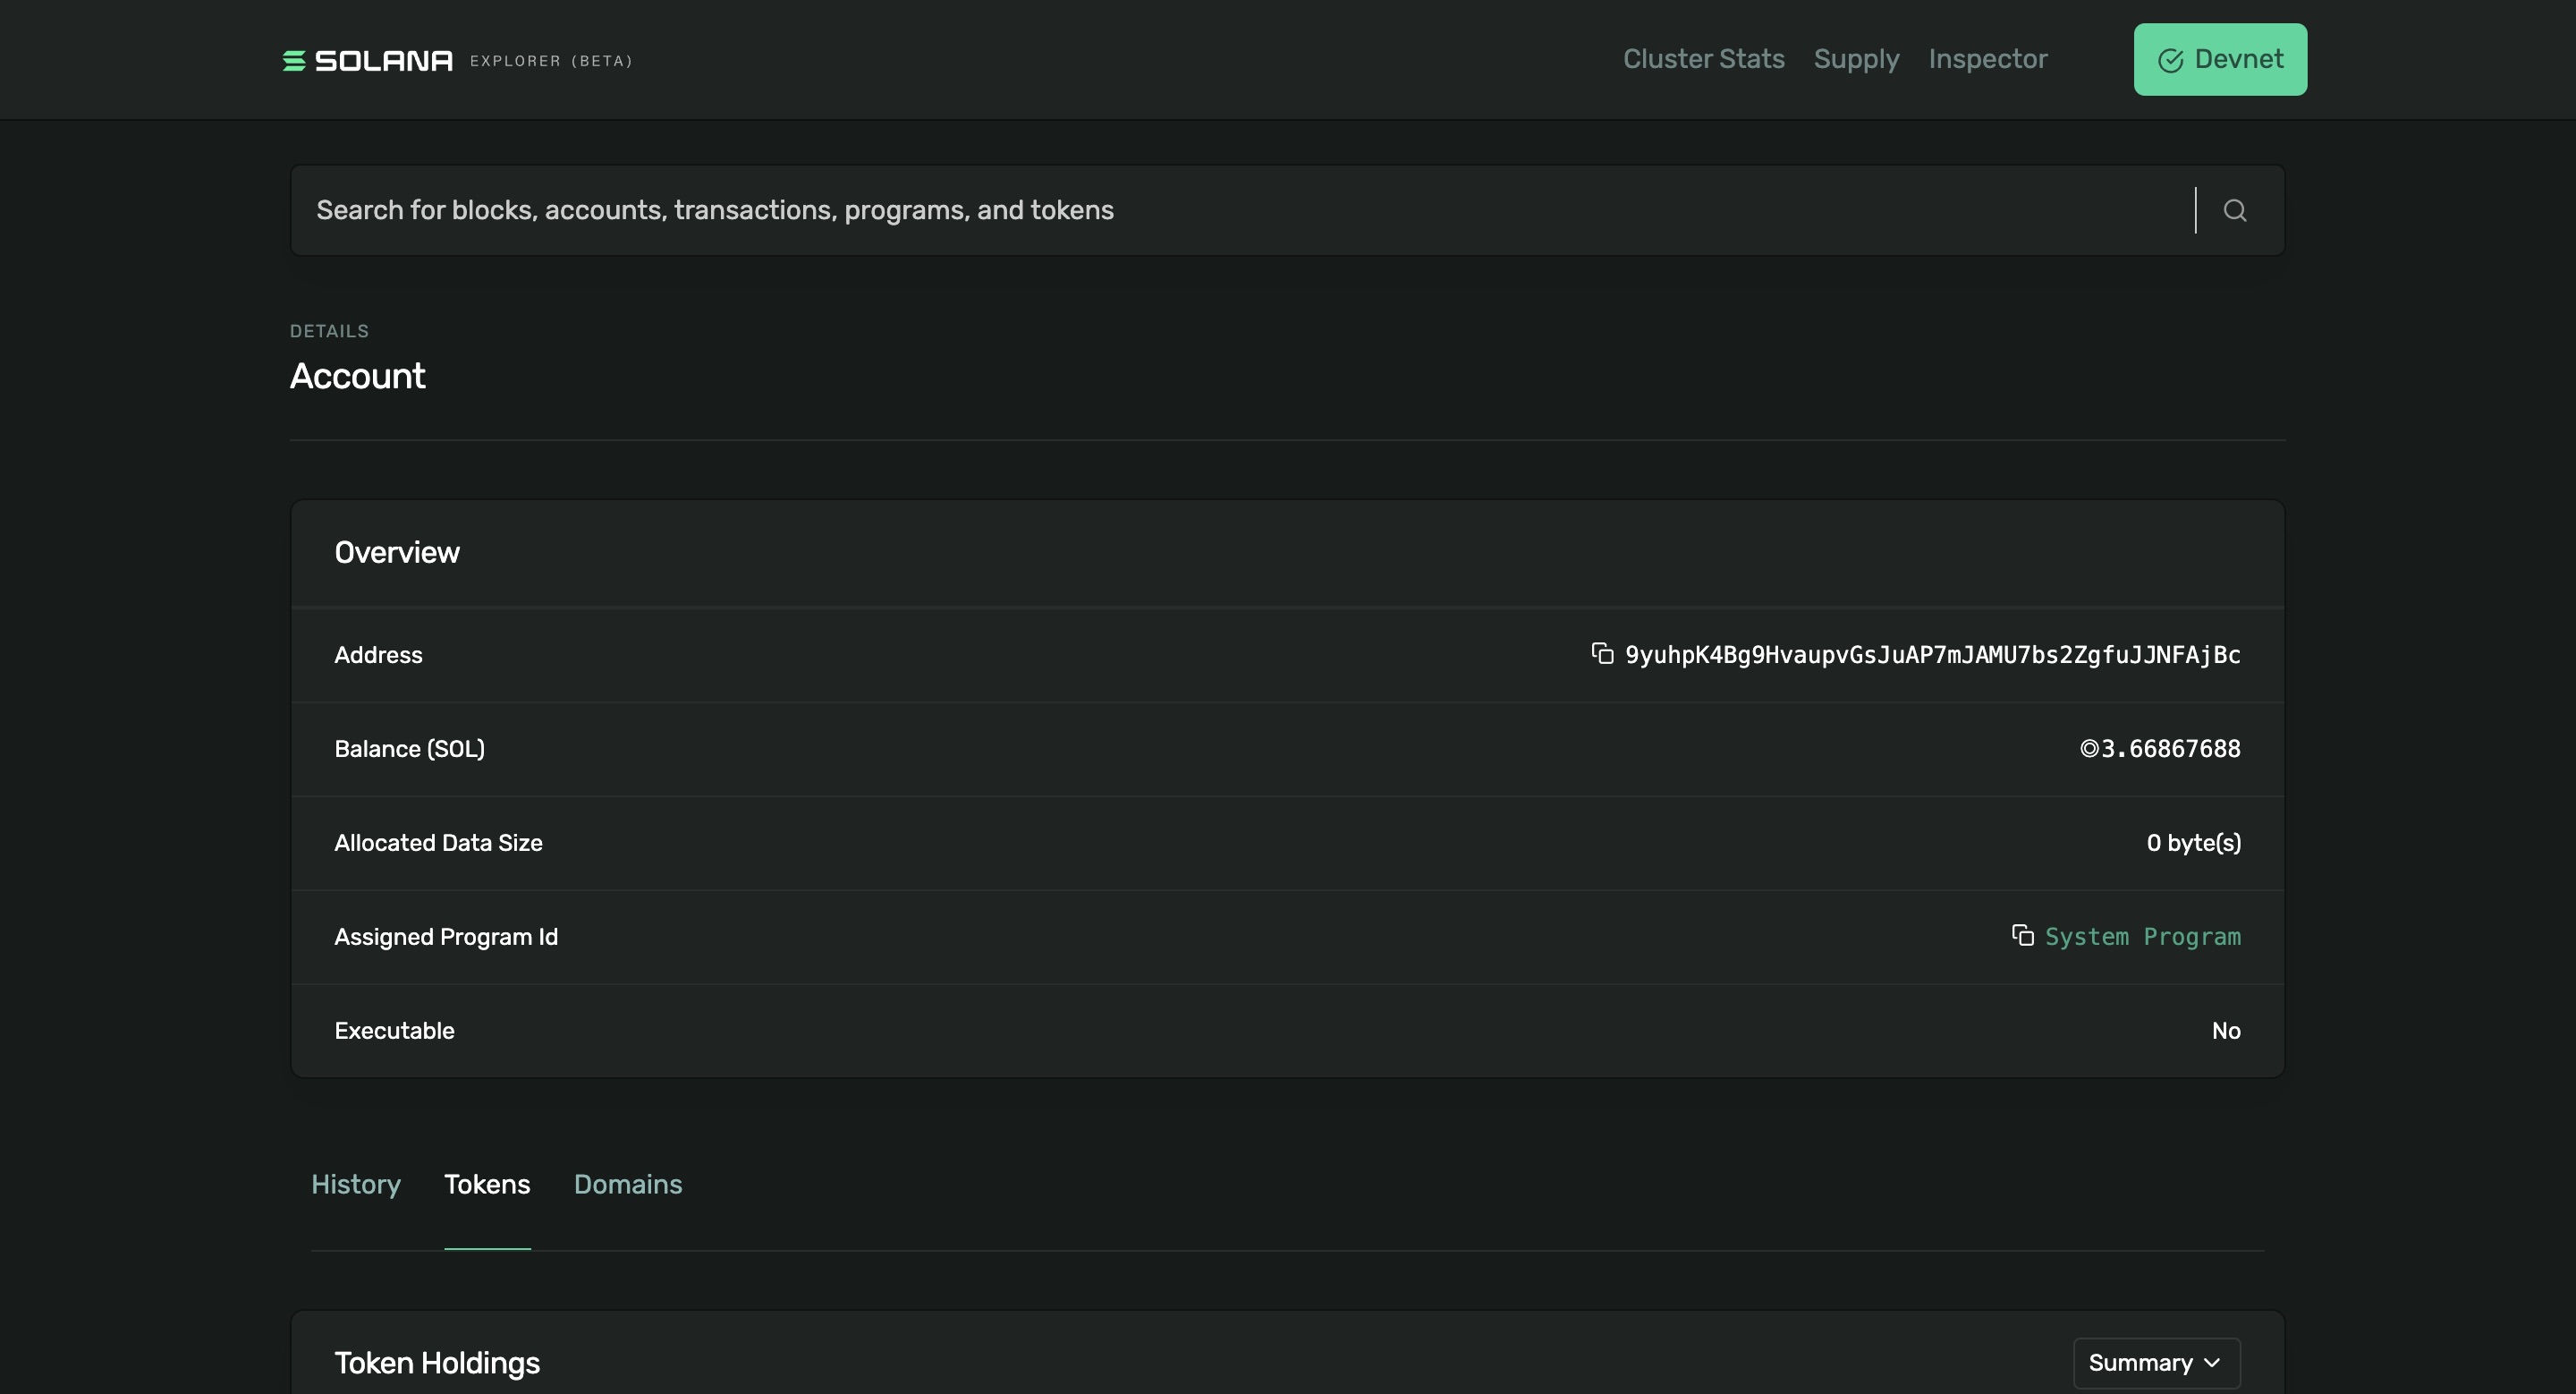
For token details, click on Tokens:
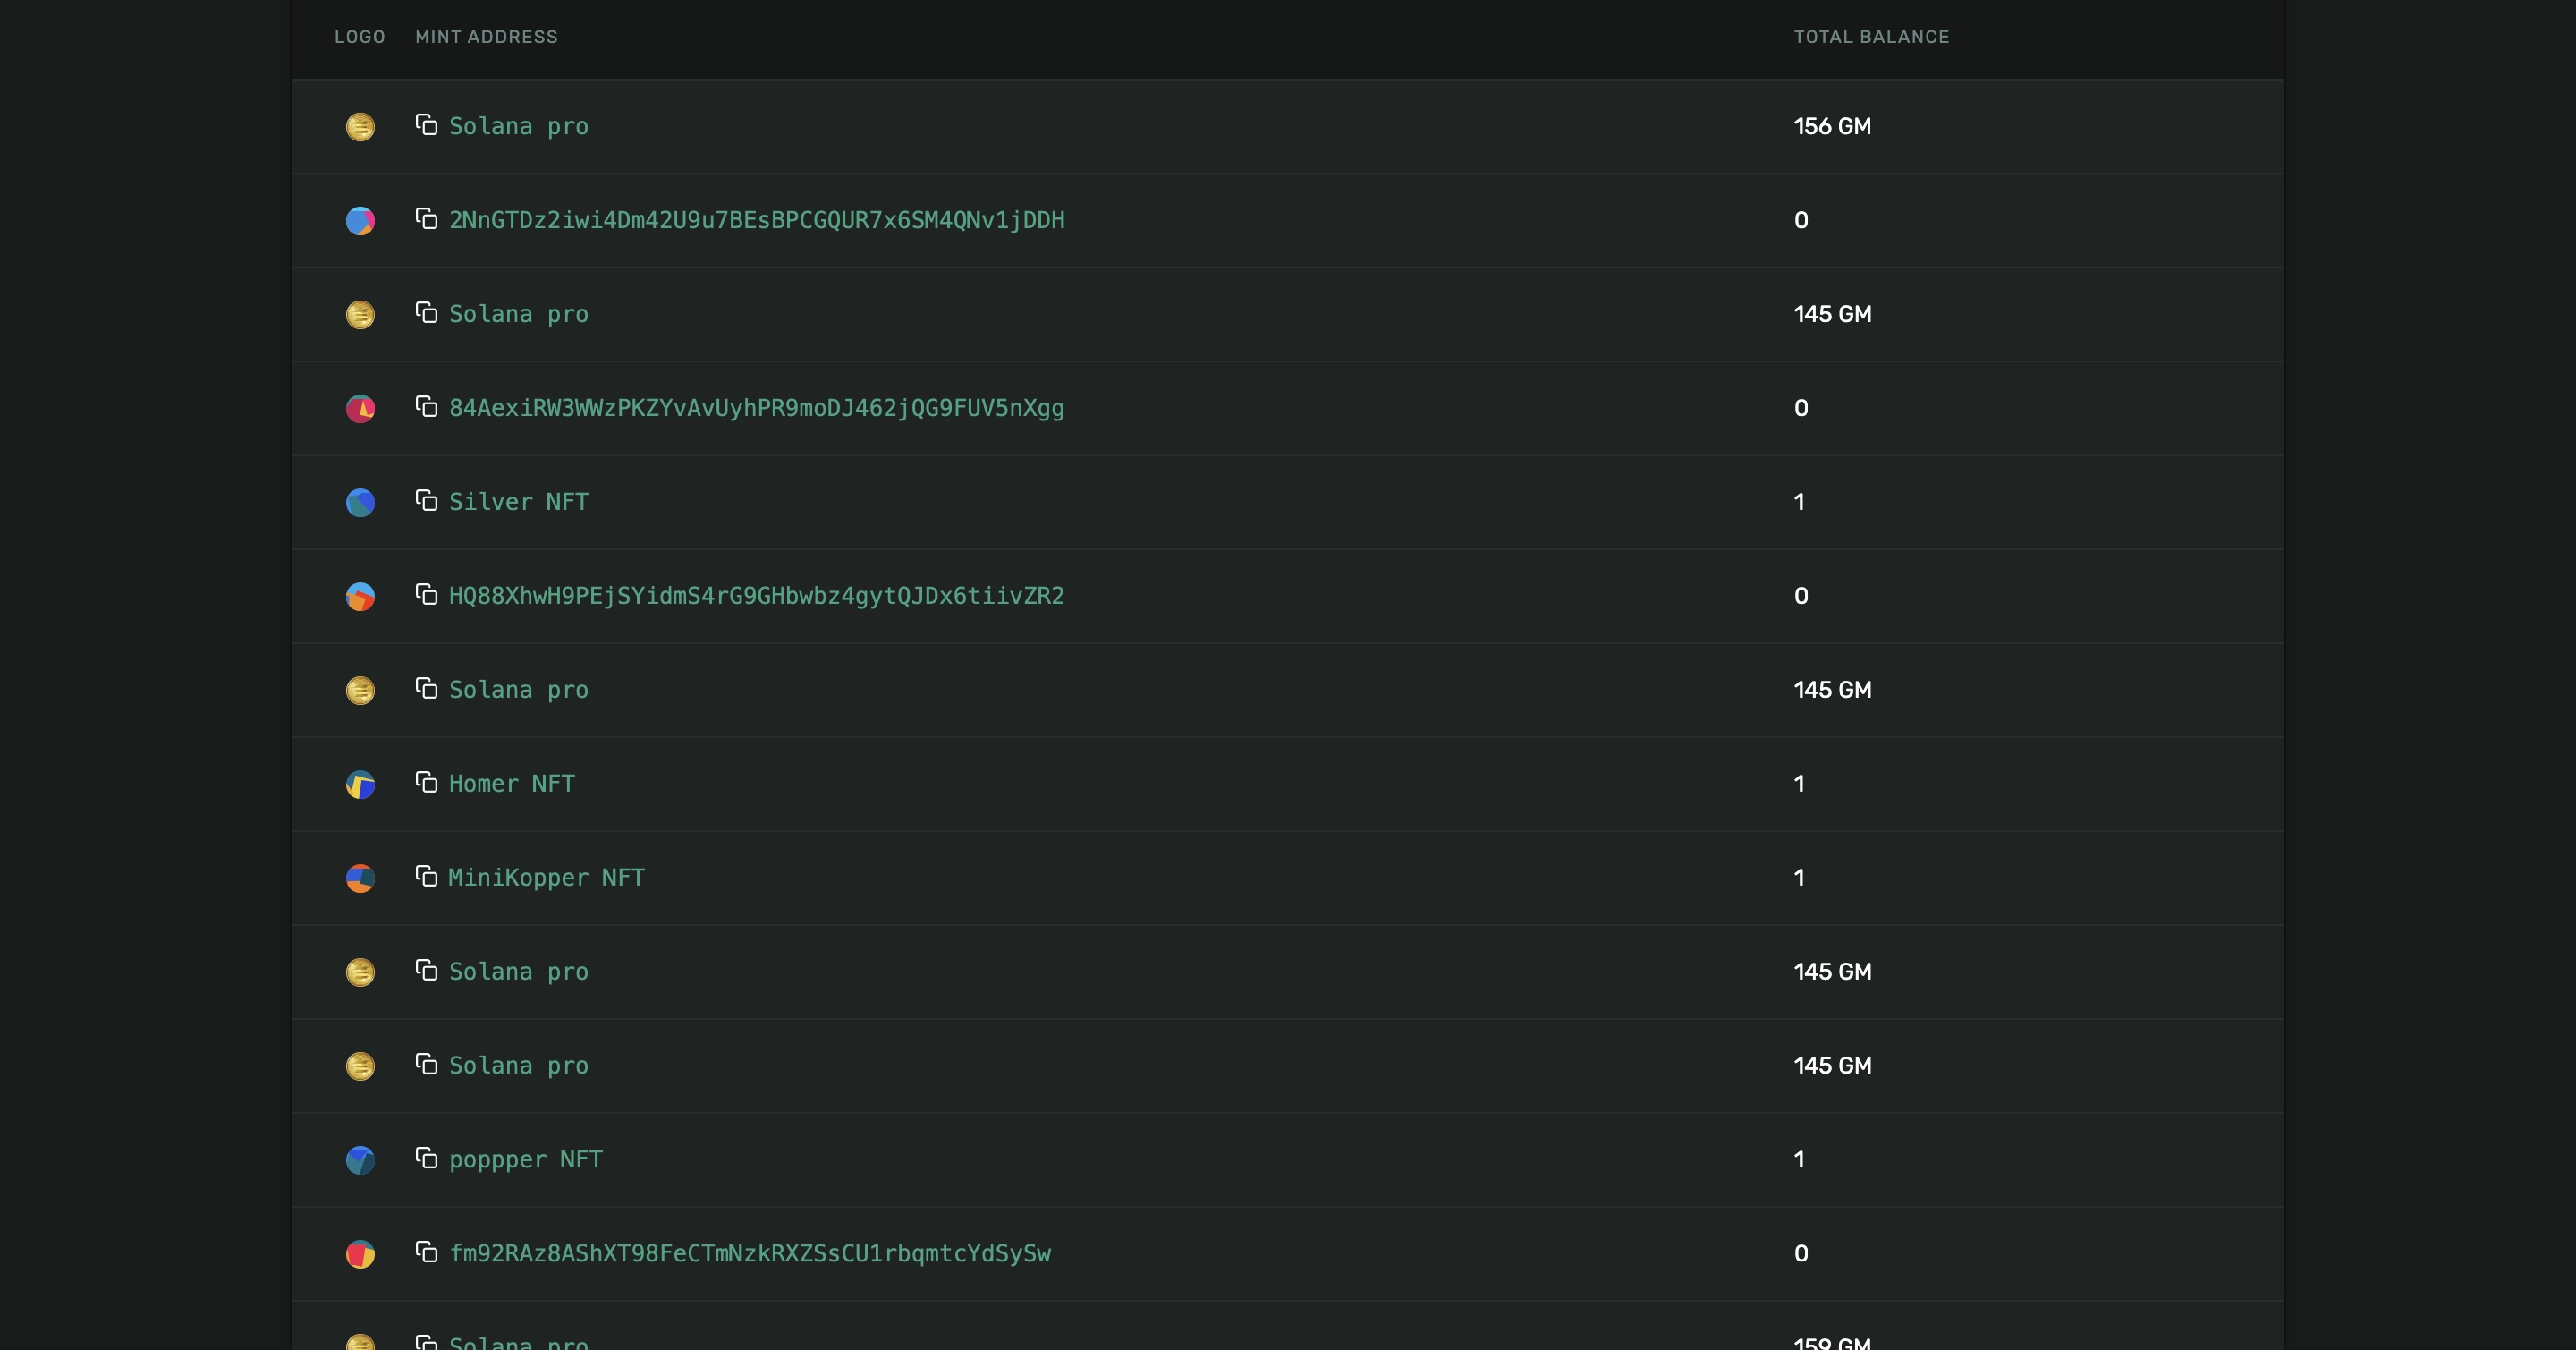
Find the "Solana Pro" tokens with a supply of 159 GM:
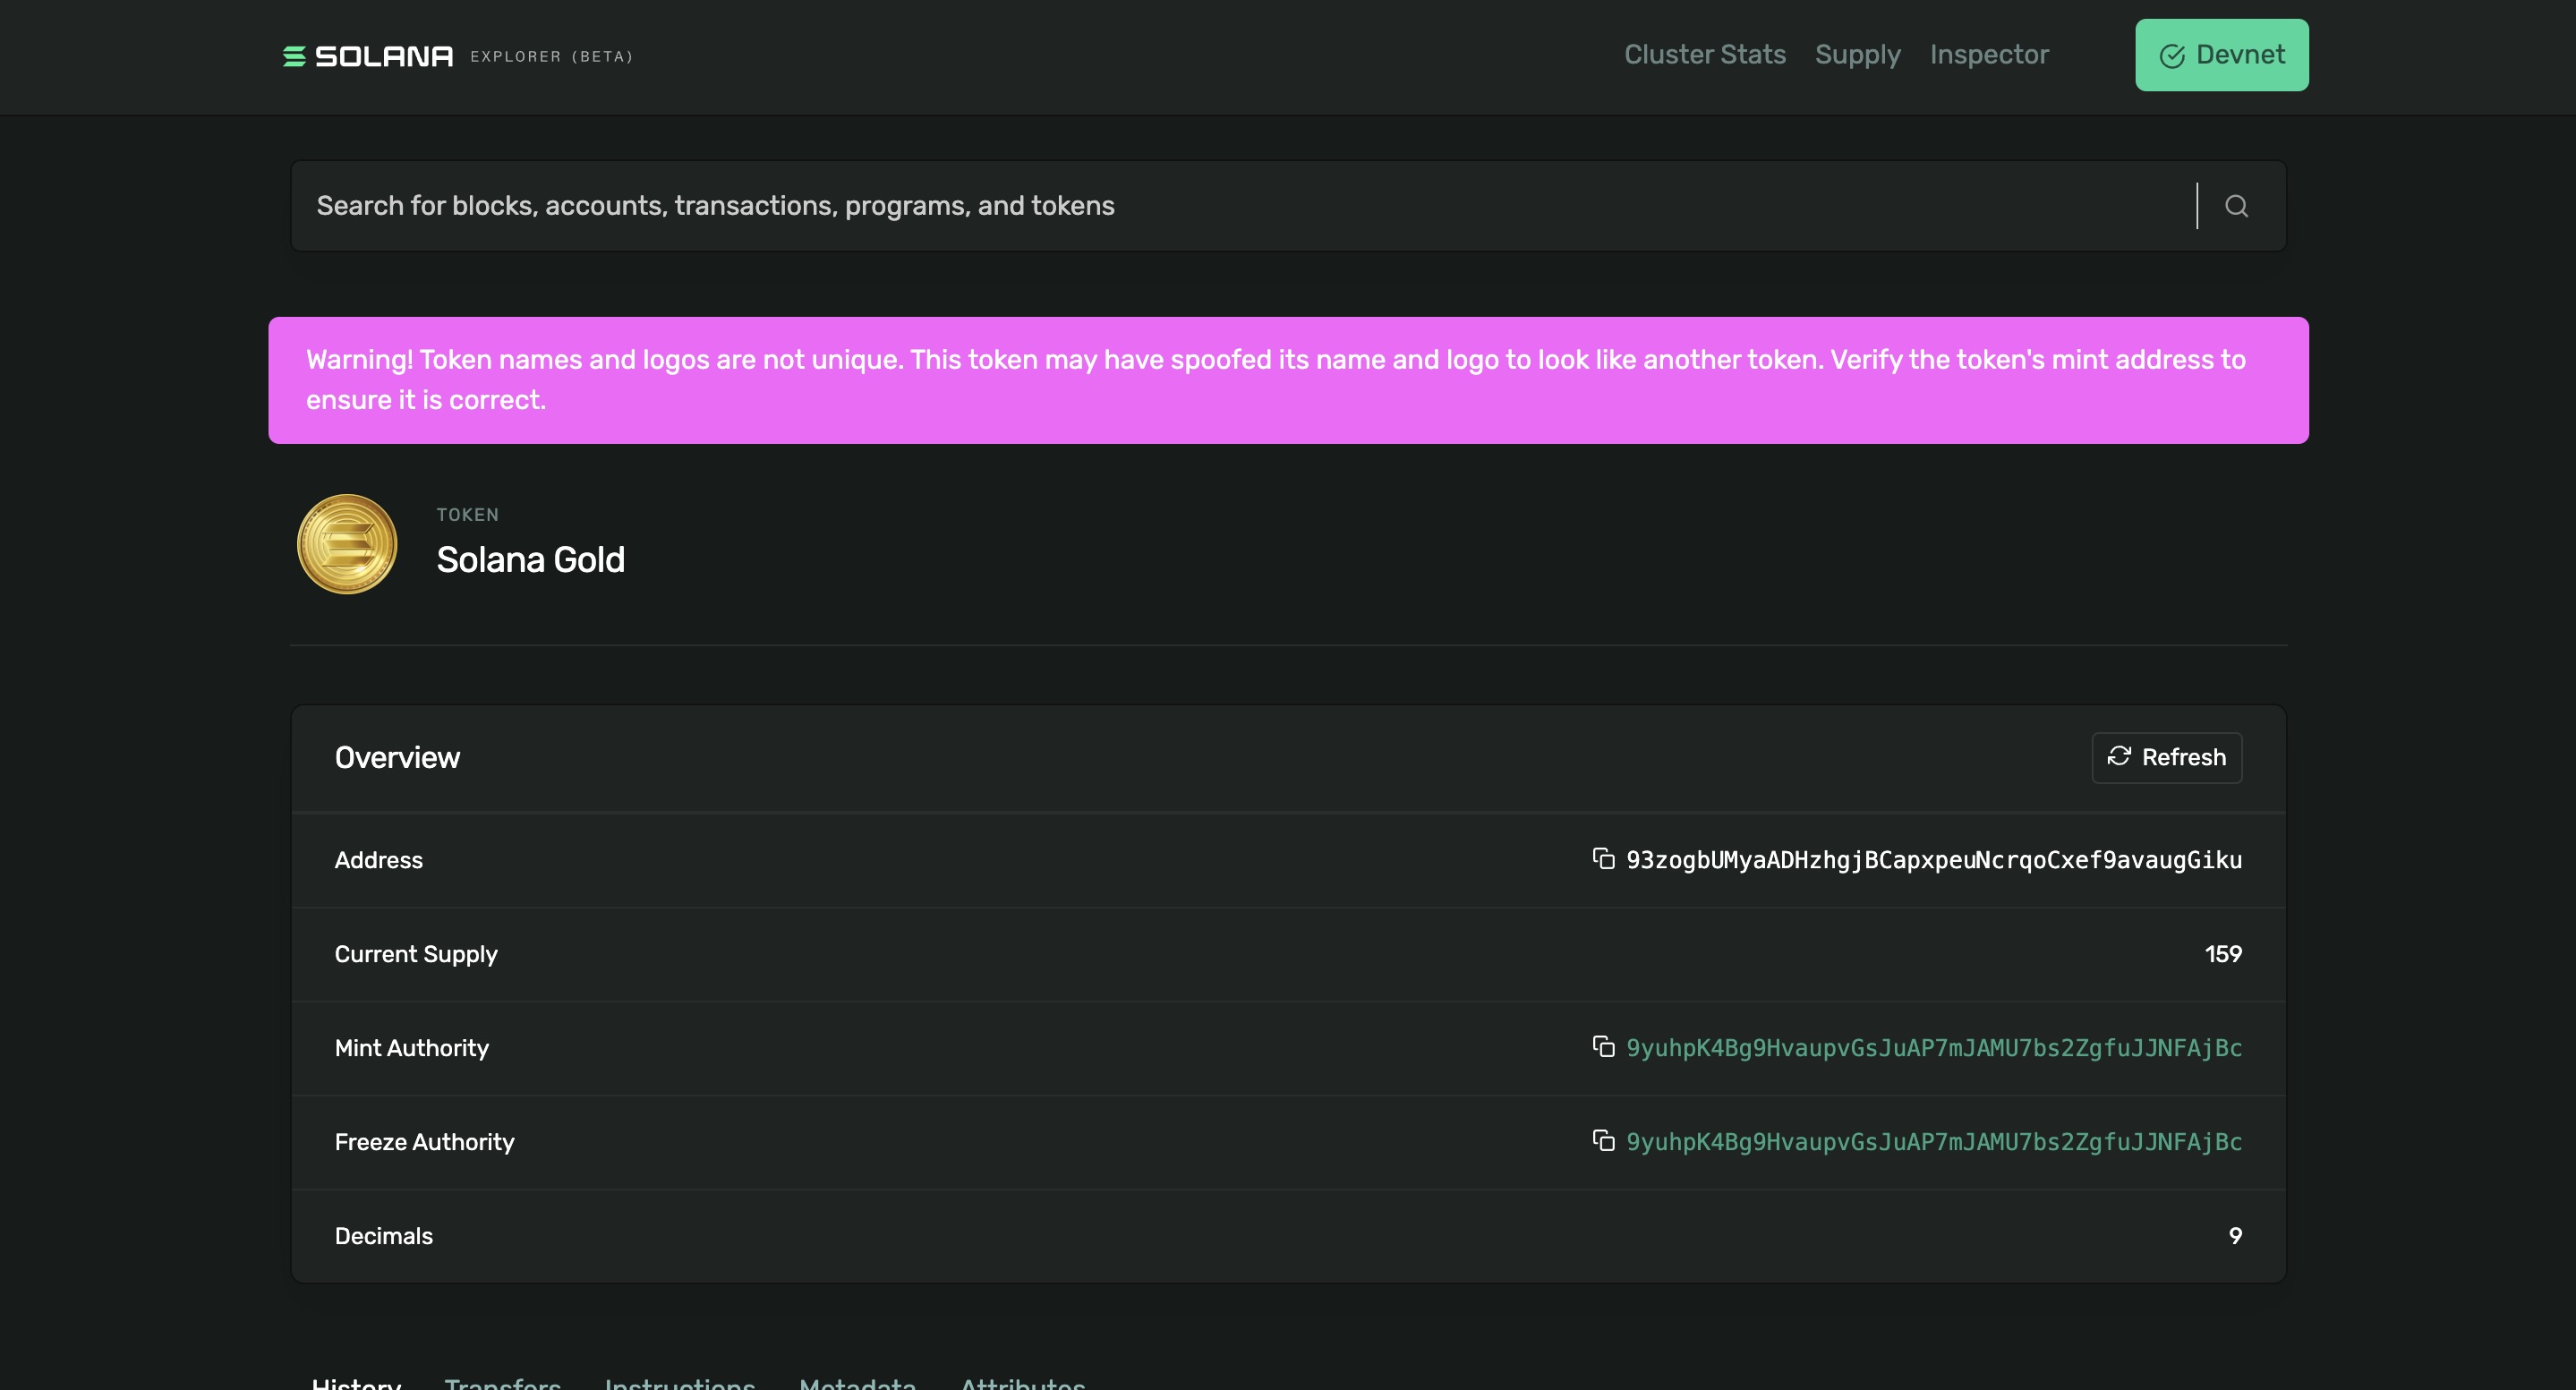
This section displays all the information about your minted tokens.
You have now successfully built, deployed, and tested tokens on Solana using Solidity and Solang. This completes the lesson on creating and managing a fungible token program on the Solana blockchain. With these steps, you've gained hands-on experience in the key aspects of blockchain development, including program deployment and token minting.