By the end of this lesson, you'll be able to:
- Set up your system for Solana development using Solidity.
- Install the required tools and technologies for this course, enabling you to build and experiment with the examples provided.
This quickstart guide will walk you through installing and setting up your local development environment. Get ready to start developing and deploying Solana Solidity programs on the blockchain.
In this lesson, you will learn how to install and set up the system for local Solana development, including Backend, CLI, Client, Rust, Anchor, Solana tools, and JavaScript. This setup is primarily for macOS and Linux users. For Windows users, please refer to Solana Windows Setup.
- Understanding System Pre-requisites
- Completing Checkpoint One
- Installing The Solana CLI
- Installing the Anchor Framework
- Completing Checkpoint Two
- Creating a FileSystem Wallet
- Airdropping Devnet SOL tokens
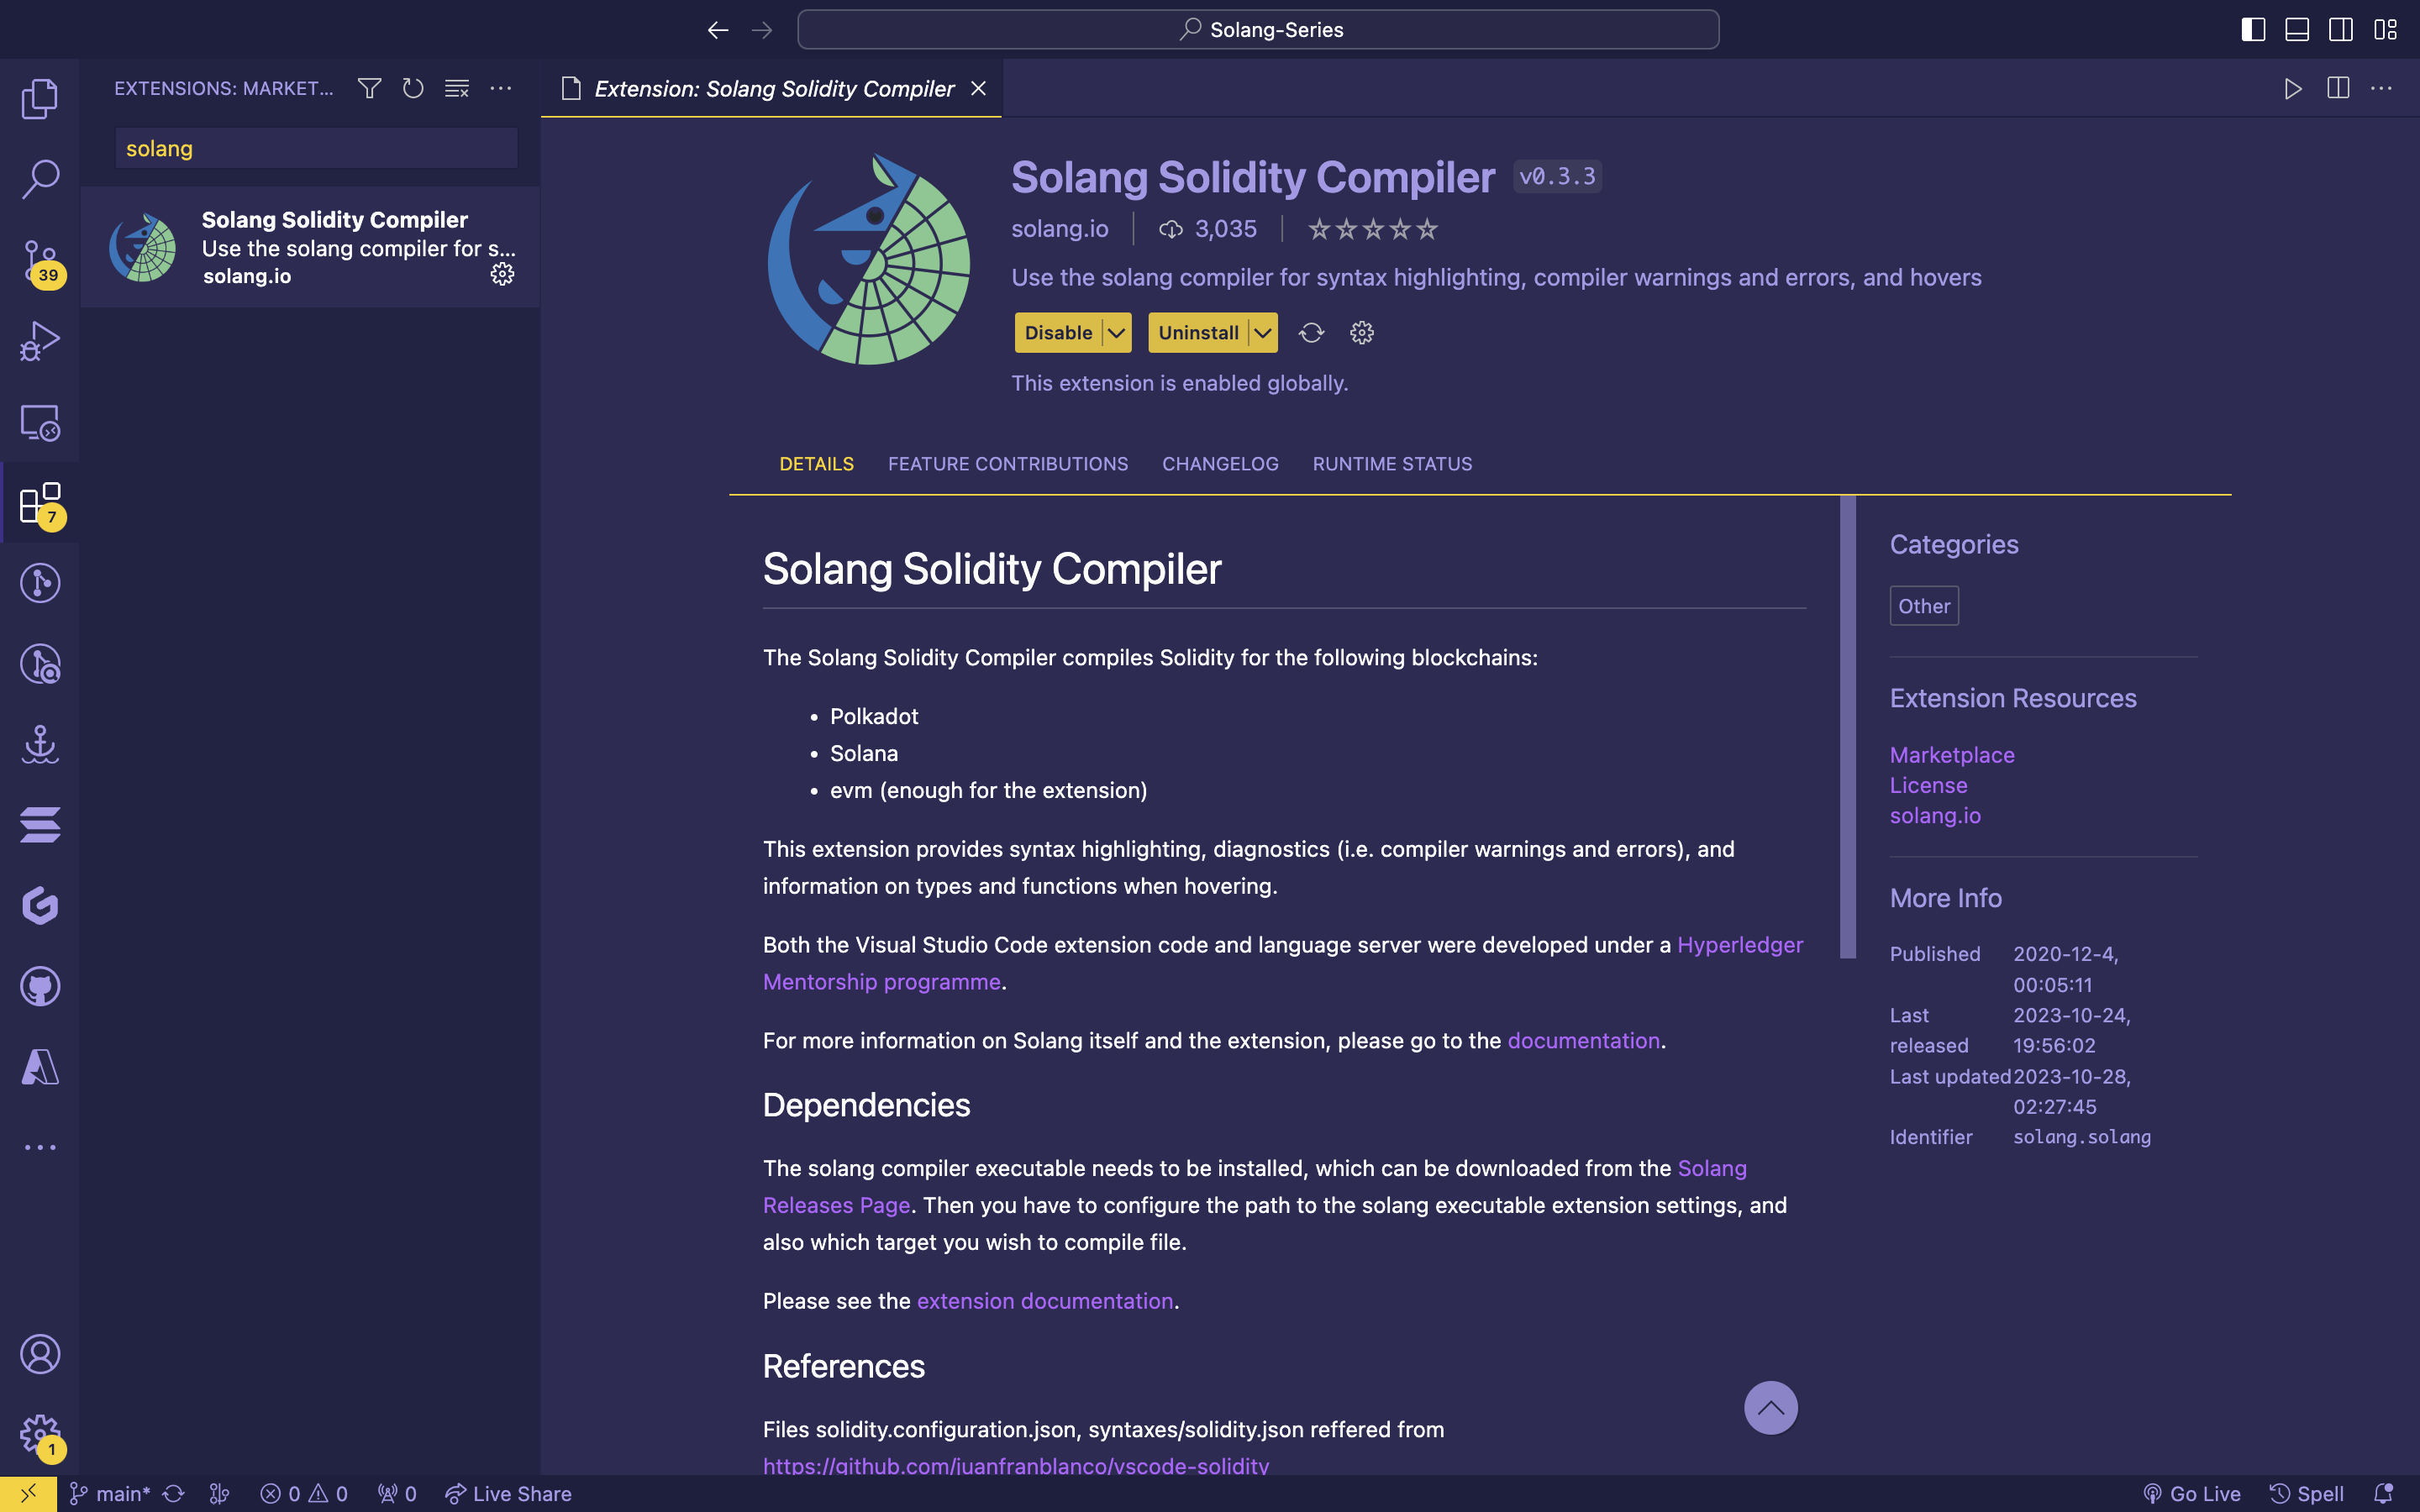
- Installing and Configuring Solang
- Installing Solang VSCode Extension
- Setting up a localhost blockchain cluster
- Client-side setup
-
Node.js - Essential for JavaScript runtime.
-
Rust - Used for compiling Solidity into Solana bytecode format.
curl --proto '=https' --tlsv1.2 -sSf https://sh.rustup.rs | sh
- Yarn - A package manager for your code.
npm i -g yarn
Verify your installation by running these commands:
rustc --version
node --version
yarn --version
cargo --version
Expected output:
rustc 1.70.0
v17.8.0
1.22.19
cargo 1.70.0
- Follow the instructions based on your operating system at the [Solana
Cookbook Installation Guide](https://solanacookbook.com/getting-started/installation.html#install-cli). For MacOS and Linux:
sh -c "$(curl -sSfL https://release.solana.com/LATEST_RELEASE/install)"
Replace LATEST_RELEASE with the desired version or use a symbolic channel name like stable, beta, or edge. Confirm the installation with:
solana --version
Anchor is crucial for Solana development. Install it using the Anchor version manager (avm) for easier management:
Check your installations:
solana --version
anchor --version
Expected output:
solana-cli 1.17.3
anchor-cli 0.29.0
Create a Solana wallet for deploying programs:
solana-keygen new
Set this wallet as default:
solana config set -k ~/.config/solana/id.json
Airdrop SOL tokens for testing:
solana airdrop 2
Check your balance:
solana balance
Solang compiles Solidity for Solana. Ensure it's correctly installed:
solang --version
Enhance your development experience with the Solang VSCode Extension.
Run a local Solana blockchain cluster for development:
solana-test-validator
Configure Solana CLI for localhost:
solana config set --url localhost
For JavaScript or TypeScript development on Solana, use the @solana/web3.js library:
yarn add @solana/web3.js
- SPL-Token: For interacting with SPL tokens:
yarn add @solana/spl-token
- Wallet-Adapter: To integrate wallets like Phantom and Solflare:
yarn add @solana/wallet-adapter-wallets @solana/wallet-adapter-base
With these steps, you are now fully equipped to embark on your Solana development journey using Solidity. This setup provides you with the essential tools and frameworks needed to build, test, and deploy your applications on the Solana blockchain.
Remember, the world of blockchain development is dynamic and constantly evolving. Keep exploring and experimenting with different tools and techniques to enhance your skills and understanding. Happy coding!